

How To Guides
Building Your Own Vertical Garden with a Pallet
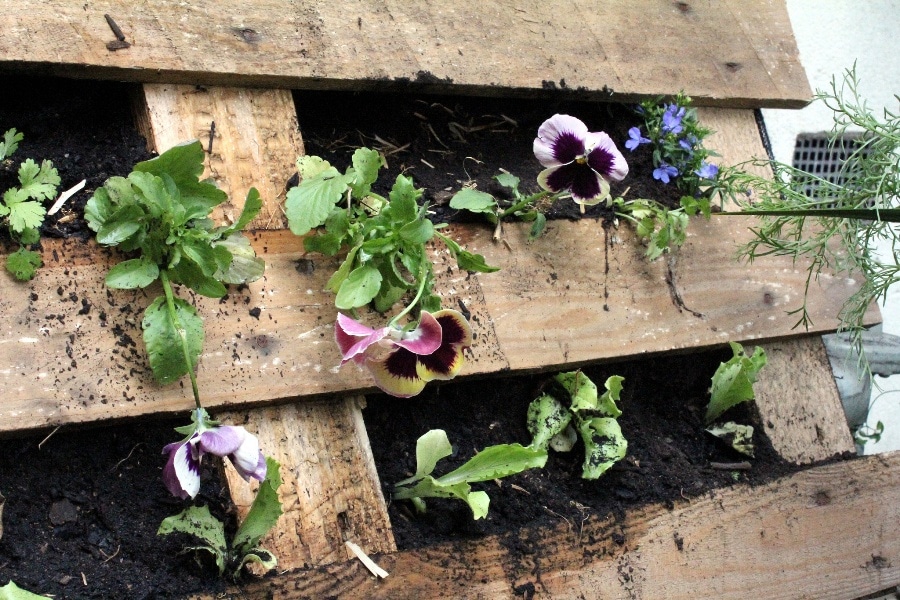
Vertical garden or “pallet gardens” are becoming increasingly popular with many homeowners choosing to use them where space is at a premium especially in town houses and rooftop apartments.
They can come in all shapes and sizes some scaling high up the side of the wall, others just sitting nicely in an offices small back yard. Here's how you can create your own using a simple wooden pallet:
What You Will Need:
- A pallet
- Landscaping paper
- Sandpaper
- Staple Gun or Nail Gun
- Nails
- Hammer
- Potting Soil
- Plants of your choice
- Patience
You can buy all these things from any good DIY or gardening centre. You may even be able to snap up a pallet for free.
Step 1 – Prepare the Pallet

Sand down the pallet to remove any rough spots or split bits of wood. This will prevent you getting any splinters when doing it. Depending on the pallet you may need to nail on some wood onto the back of it otherwise the soil will fall out completely.
Step 2. Staple or Your Landscaping Paper
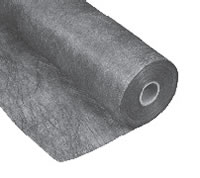
Staple the landscape fabric along the back, bottom and sides of the pallet, taking care at the corners to fold in the fabric so no soil can get out.
Step 3. Lay the pallet flat and pour potting soil through slats
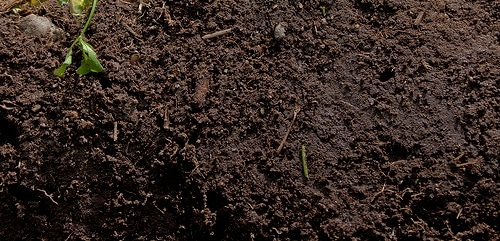
Add the potting soil and make sure you press it firmly down. Make sure you leave enough room to begin planting your succulents.
Step 4. Start Planting
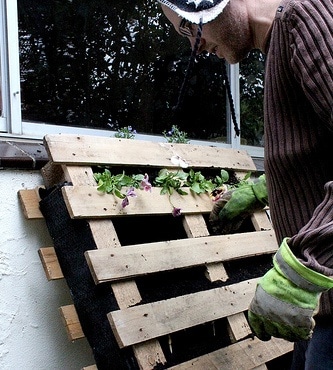
Starting at the bottom and add your planets. Make sure soil is firmly packed as you move up the pallet. Add more soil as needed so that plants are tightly packed and won't fall out. Preferably carry this out with the pallet laid flat.
Step 5. Water it
Once complete water it thoroughly and let it remain flat for 1 to 2 weeks to allow plants to root properly. After 1 to 2 weeks, you can put it vertically and stand it against a wall.
Enjoy your pallet garden!