

How To Guides
Top Tips for Constructing Your New Wheelie Bin Store
Congratulations on buying your new wheelie bin store! But just how long exactly has that flat pack been sitting in the hallway? Putting together your wheelie bin store isn't difficult, and you don't need to be a DIY genius, but you will need to be a little careful. Not to worry though, we've put together a list of our top tips to help you get started. Follow these and you'll have a fully constructed wheelie bin store in no time. Plus, you'll get to free up that space in the hallway again…
Choose Your Location Carefully
Stop! Don't open anything up yet! Before you even open your flat pack, decide where you're going to be doing your build. There are two things that you'll want to think about here. Firstly, try and build as close to the final position as possible, you don't want to have to move your wheelie bin store too far once it's built (that wood gets pretty heavy, trust us).
Second up, think about convenience. You'll want somewhere that has plenty of space so that you can lay everything out, as well as somewhere that's well lit so you can actually see what you're doing. Having a level surface is going to make things a whole lot easier as well, since the last thing you need is your screws and screwdriver rolling away when you need them. Also, it's going to be a lot easier to hang doors flush and get hinges straight if you're on a flat surface, so you might want to keep this in mind too.
Read the Instructions and Do a Quick Check
No, you're not stupid, and we know that you're not, but a read through of the instructions before you start might save you a lot of trouble later on. So go ahead and scan the instructions before you start, just so that you know what's going on and what to expect.
And included in those instructions you should find a clear list of everything included in your package, so now would be a good time to open it up and make sure that everything is there. Not only do you want to make sure that you've got all the pieces you need, but also you'll want to make sure that everything is in good condition (especially the wooden panels, since warping or splitting will make construction difficult). Oh, and count those screws as well, there's nothing worse than getting half way through a build only to find that a screw is missing.
Prepare Your Tools!
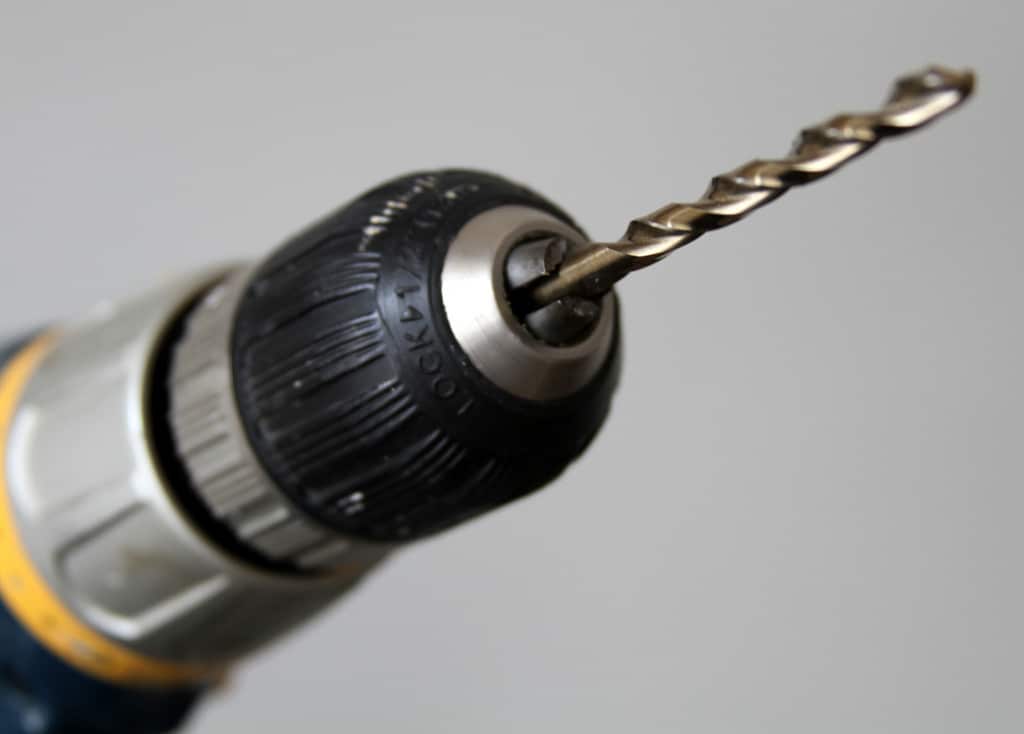
Alrighty, you're almost ready to build now, but let's prepare those tools first so that you have everything you need. Your instructions should give you an idea of what kind of tools you'll need, but here are the basics: screwdrivers (cross head), battery drill (you may need to extend the existing holes or drill pilot holes), battery screwdriver, Stanley knife, small hammer, and pliers. You might not need all of these, but it's best to have them handy, just in case.
Top Screw Tip
Now, here's a really handy tip that's going to save you time and trouble. Separate your screws out and put different kinds into separate containers (yoghurt pots or small plates, whatever you like). This will keep all your screws safe so you won't lose any, but will also make sure that you don't accidentally use the wrong size of screw (which can result in either instability or the end of a too long screw poking through the wood).
Getting Started (Gently Does It)
When putting together any flat pack project there's one thing that's going to really help you out. Don't tighten the screws! No, we're serious. When you get started building the frame for your wheelie bin store just put in the screws hand tight, that way you'll be able to make sure that everything fits together and is flush, and if you need to take screws out it'll be easier. Once the frame is standing you can then go on and tighten the screws up.
How to Screw(!)
Sorry, we couldn't resist a screw joke… But we're serious about this tip. You'll need an electric screwdriver if possible as well as a hand screwdriver. Doing everything by hand is going to be difficult and time consuming as well, so start off by using your electric screwdriver. However, once the screws are fairly tight, stop and continue by hand. This will prevent you from over-tightening the screws (which is easy to do with an electric screwdriver) and ruining them, or even splitting the wood.
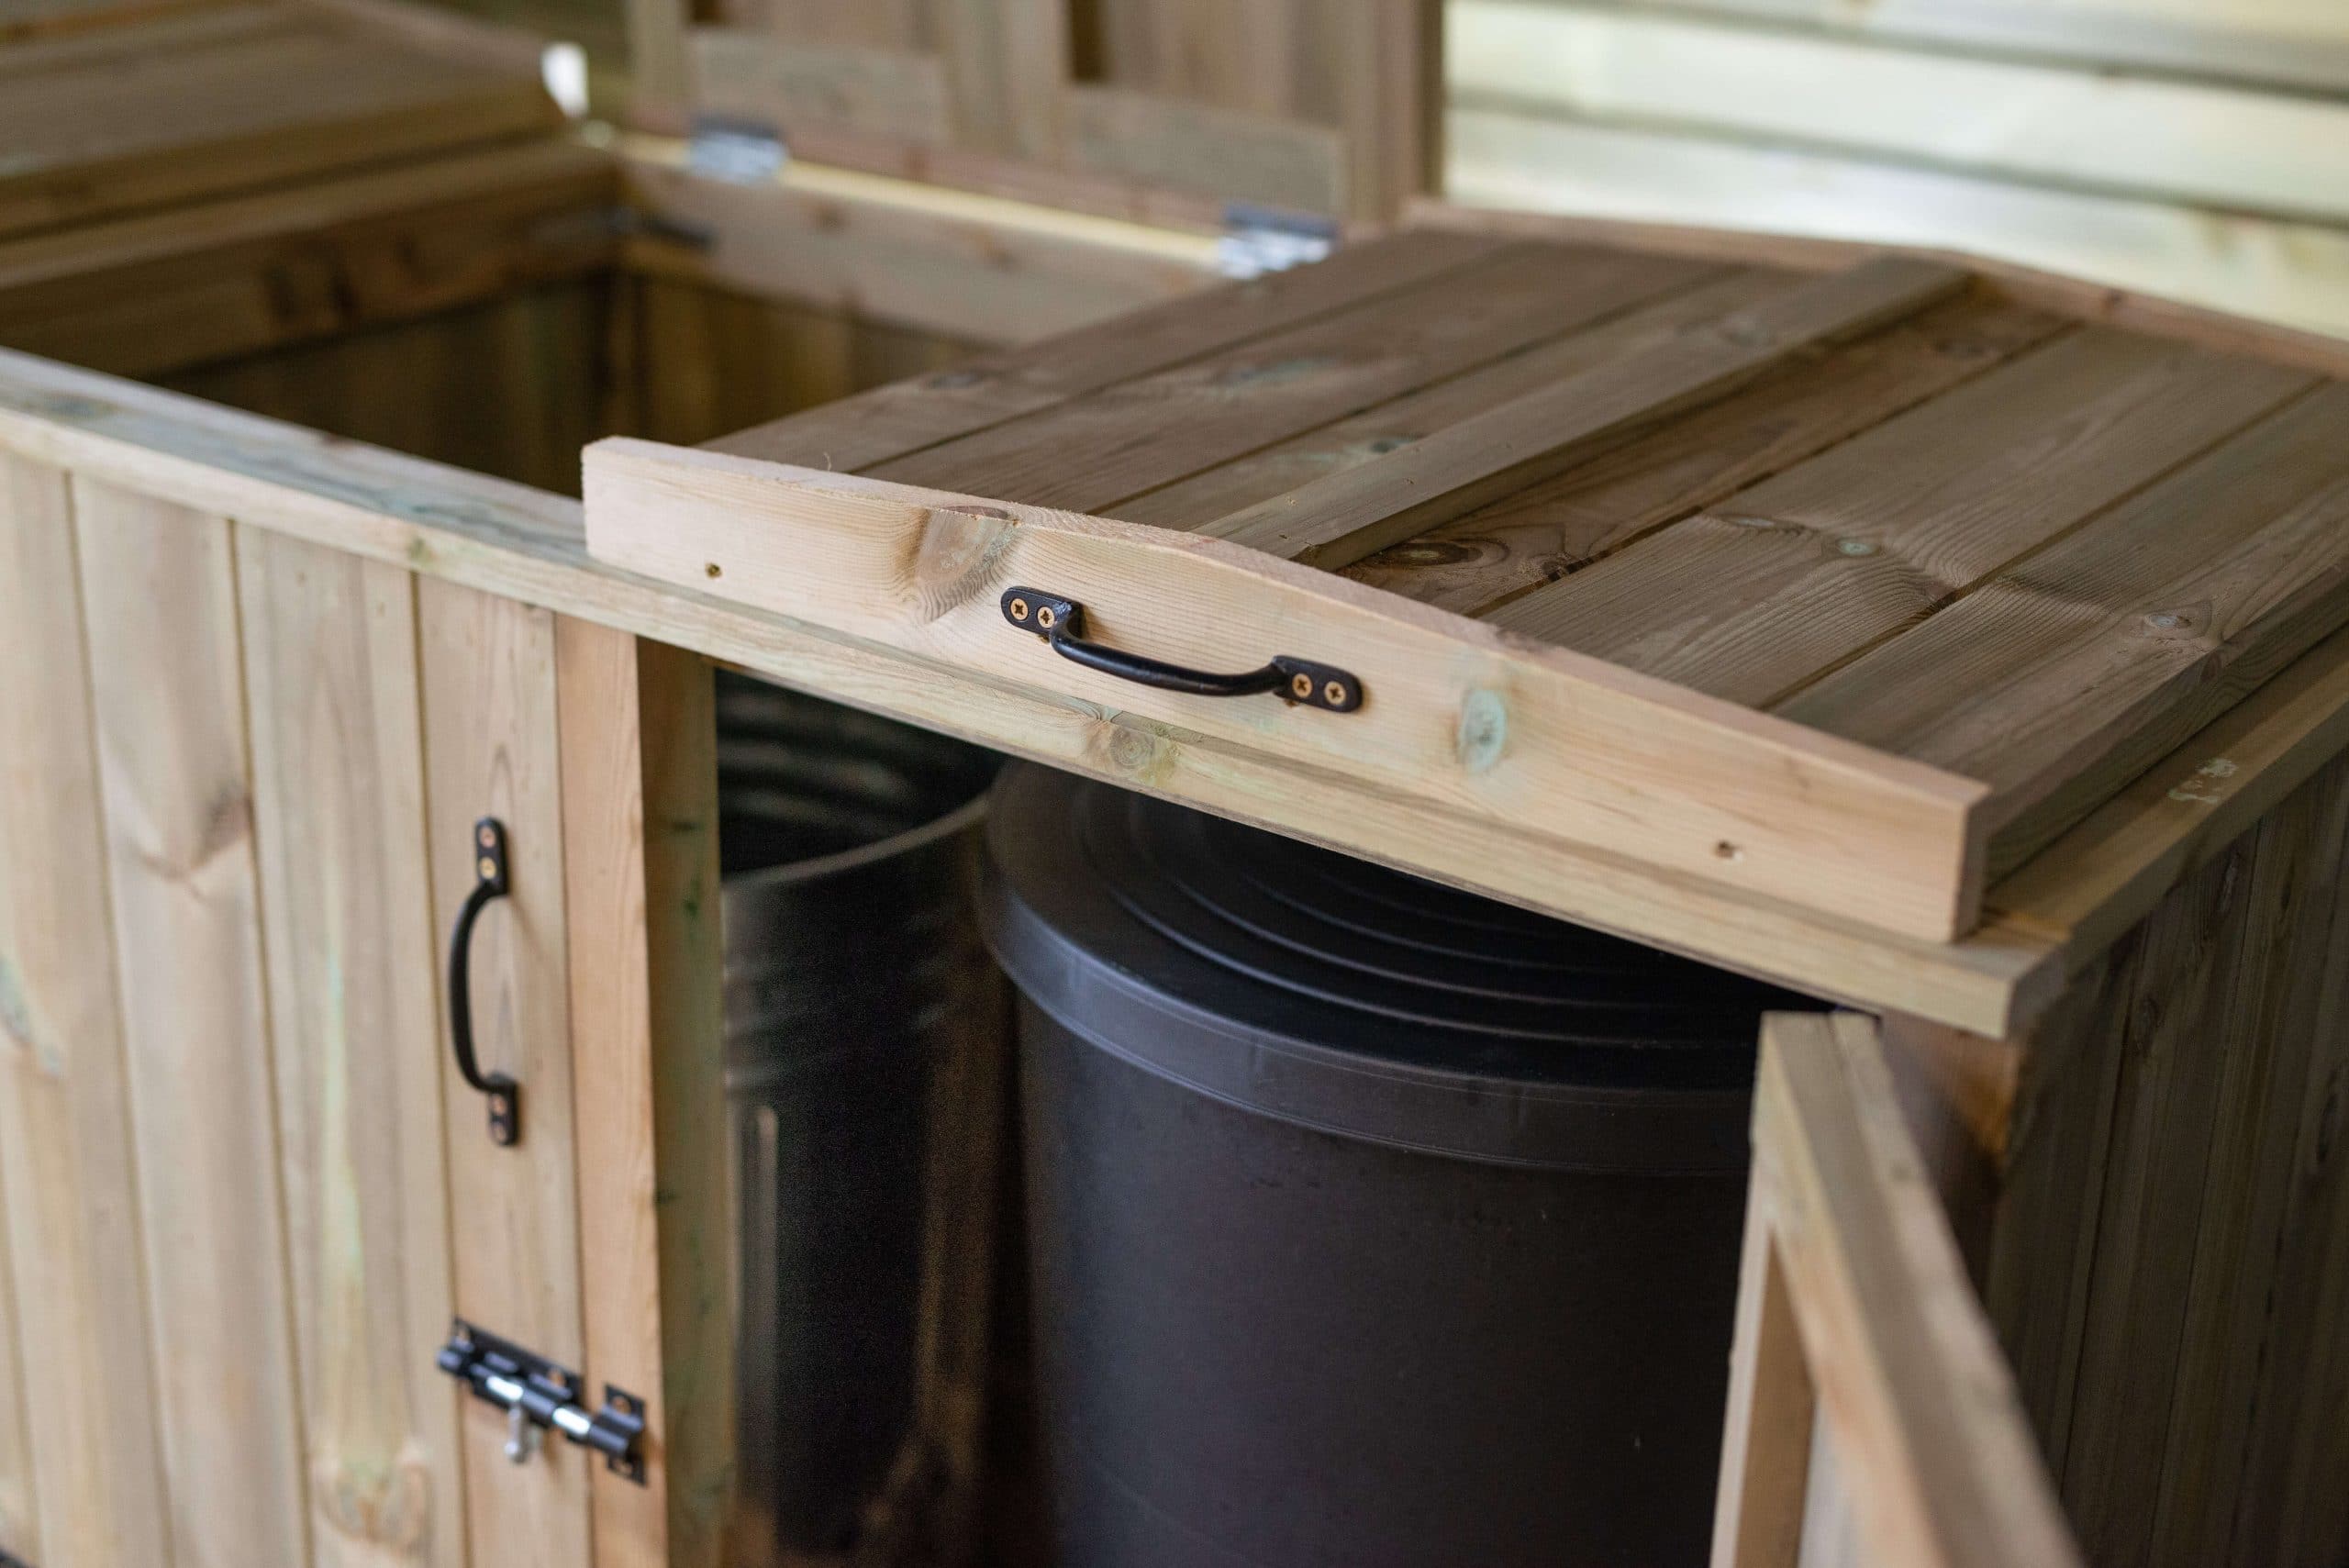
Flush is Important (and it Might Take Two)
If you can, persuade someone else to help you. Construction is going to be easier with two people (particularly for the larger panels), and you'll almost certainly need the help when it comes to getting doors and hinges flush. Before fully screwing in any hinge do make sure that the door or lid opens and closes properly, and that they're straight. It's easiest to have another person there to hold the door or lid level as you finish screwing it in.
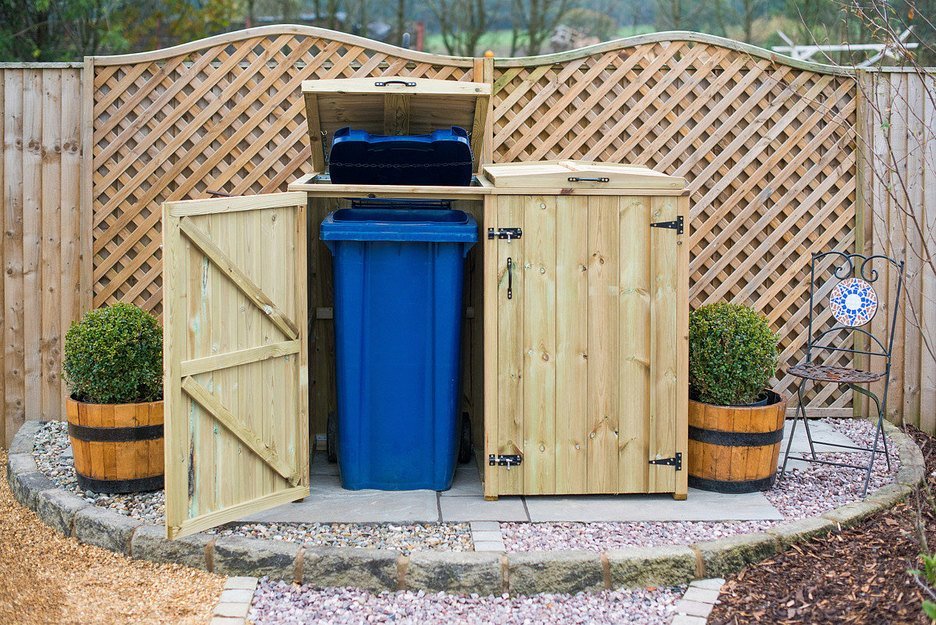
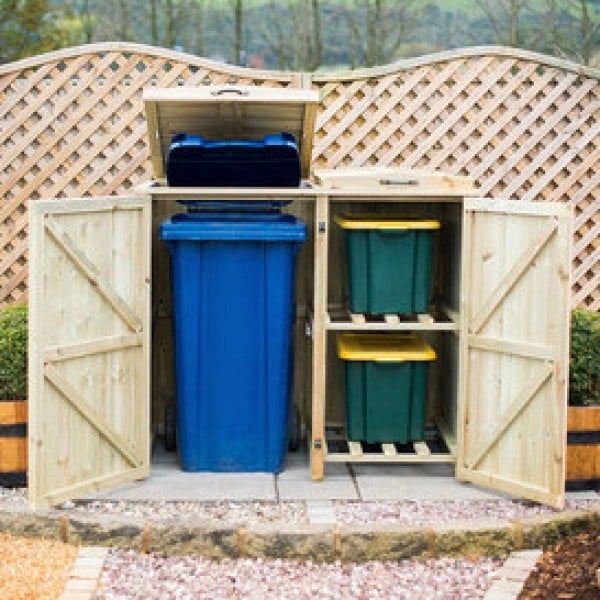
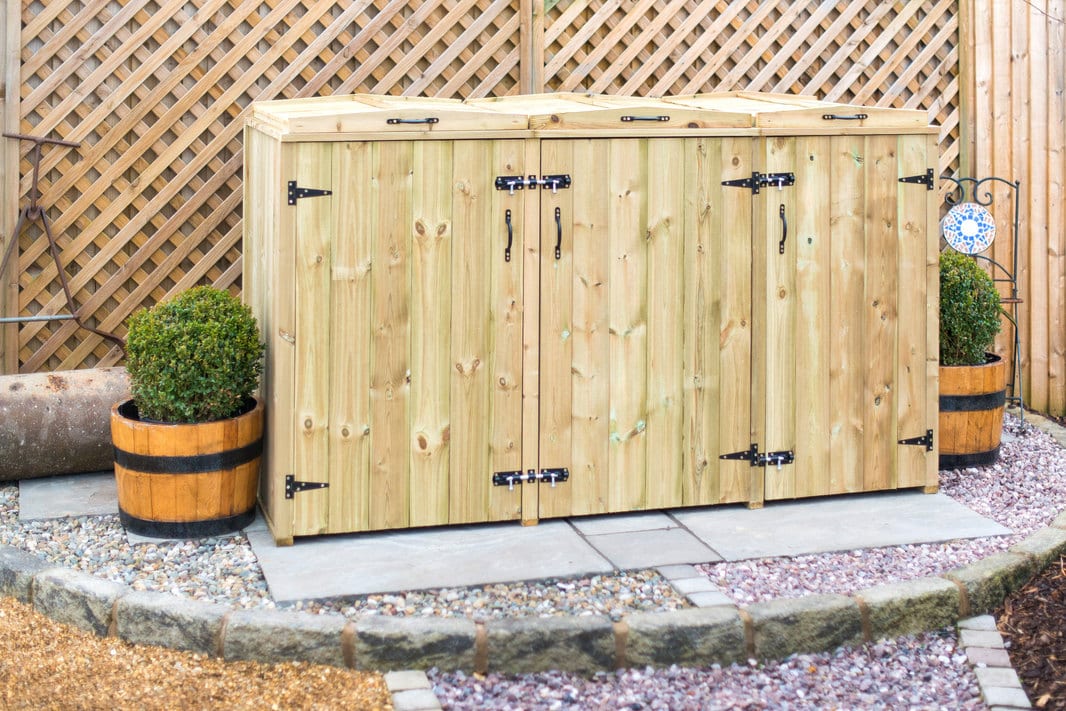
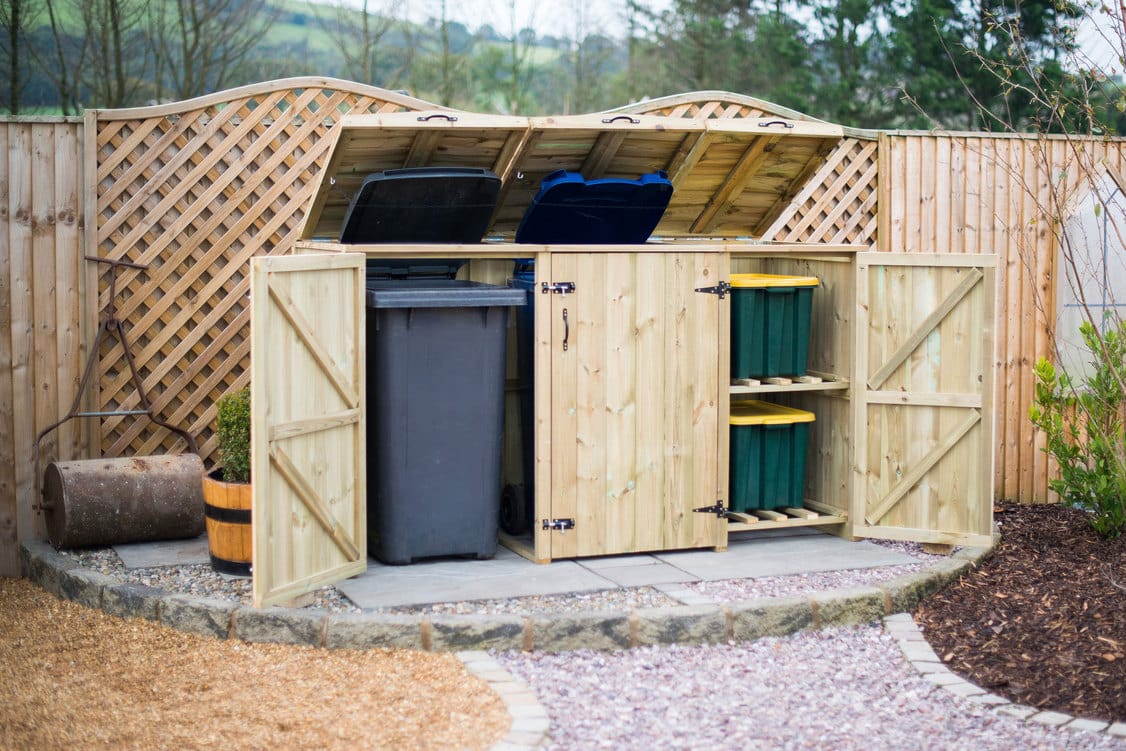
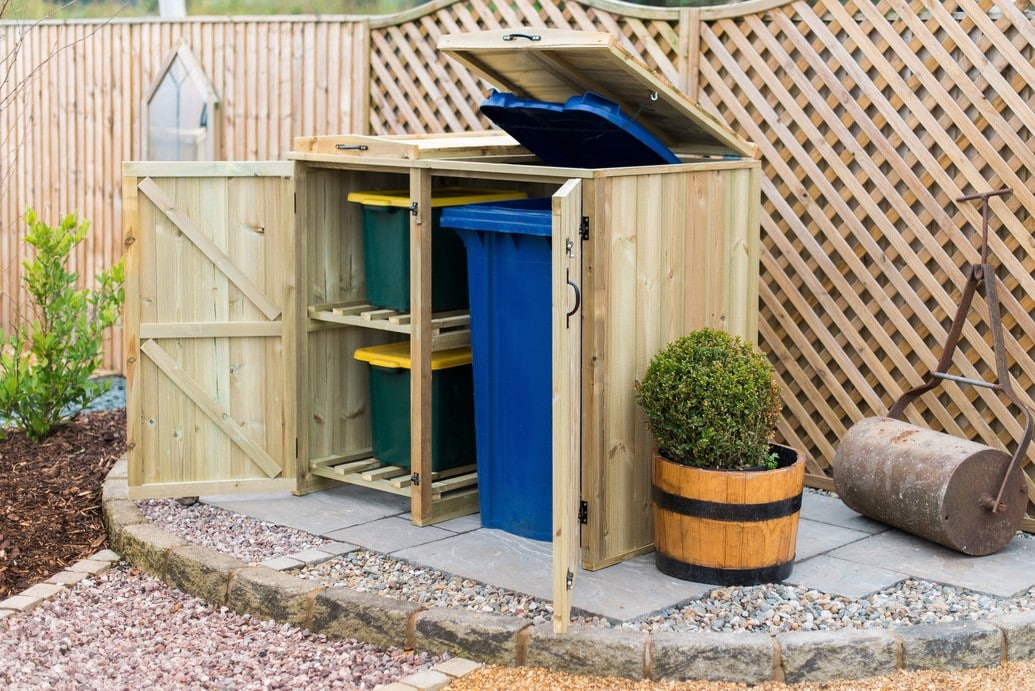
Going Double or Triple?
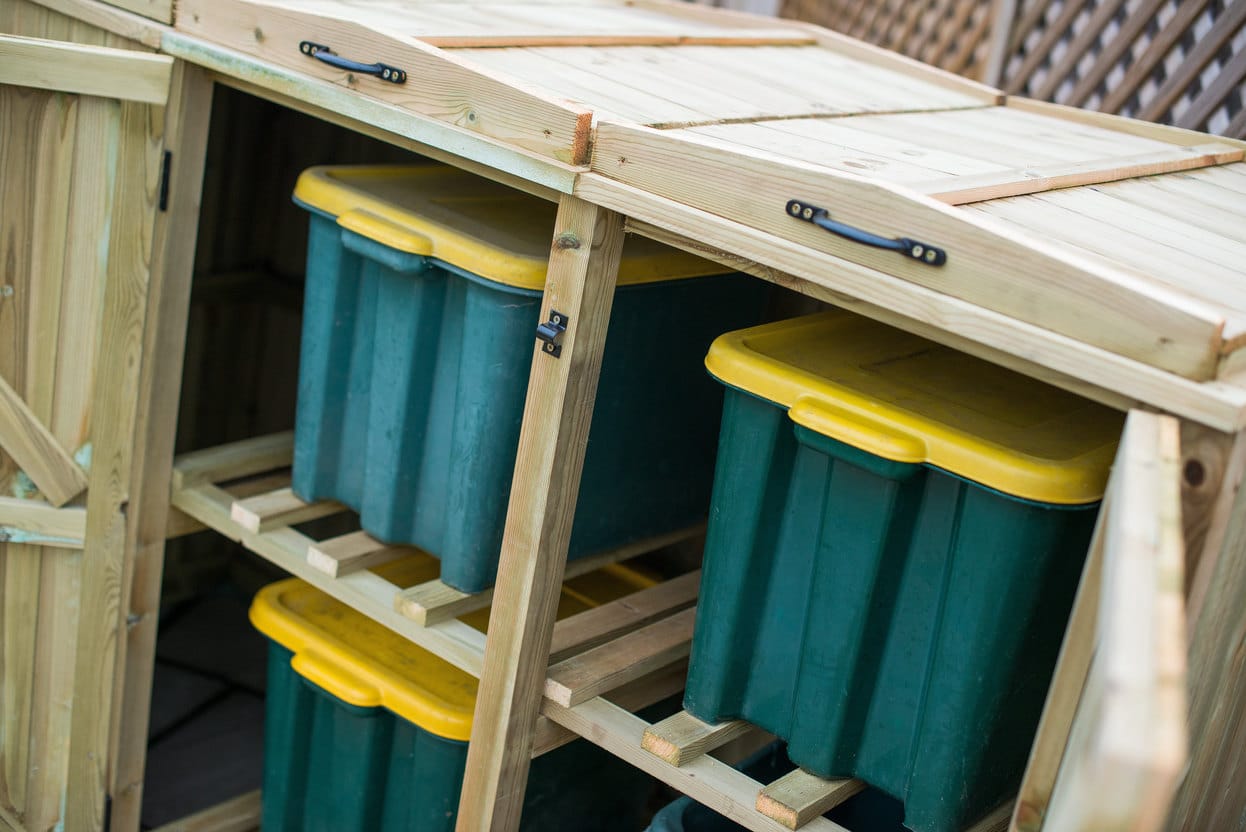
If you've gone for one of the larger double or triple units and you're not going to build it in situ, then you might want to think of logistics, since these units are tough to move around. There's two options here. You could build just the frame, move that into place and then screw in panels and doors. You could also build each compartment separately, carry them to where you want them, and then join them together. If you opt for that second one though do make sure that the lids are on straight or else your compartments won't fit together properly.
Treat it Right!
Finally, we've got to talk about treatment here. Your wheelie bin store is made out of wood, so it's pretty sturdy. However, don't forget that wood can warp and twist when left outside too long, especially in a damp climate like ours. Do make sure that you treat the wood with an appropriate stain, since this is going to make your wheelie bin store last for years and years. That way you won't be constructing another one for a long time to come!